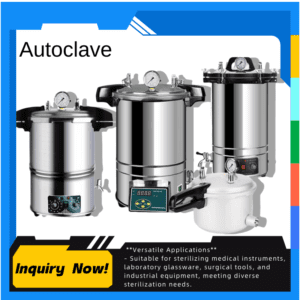

The autoclaving process serves as an essential sterilization practice utilized across medical, laboratory, and research facilities to protect glassware and instruments through effective sterilization. High-pressure steam eliminates pathogens during this

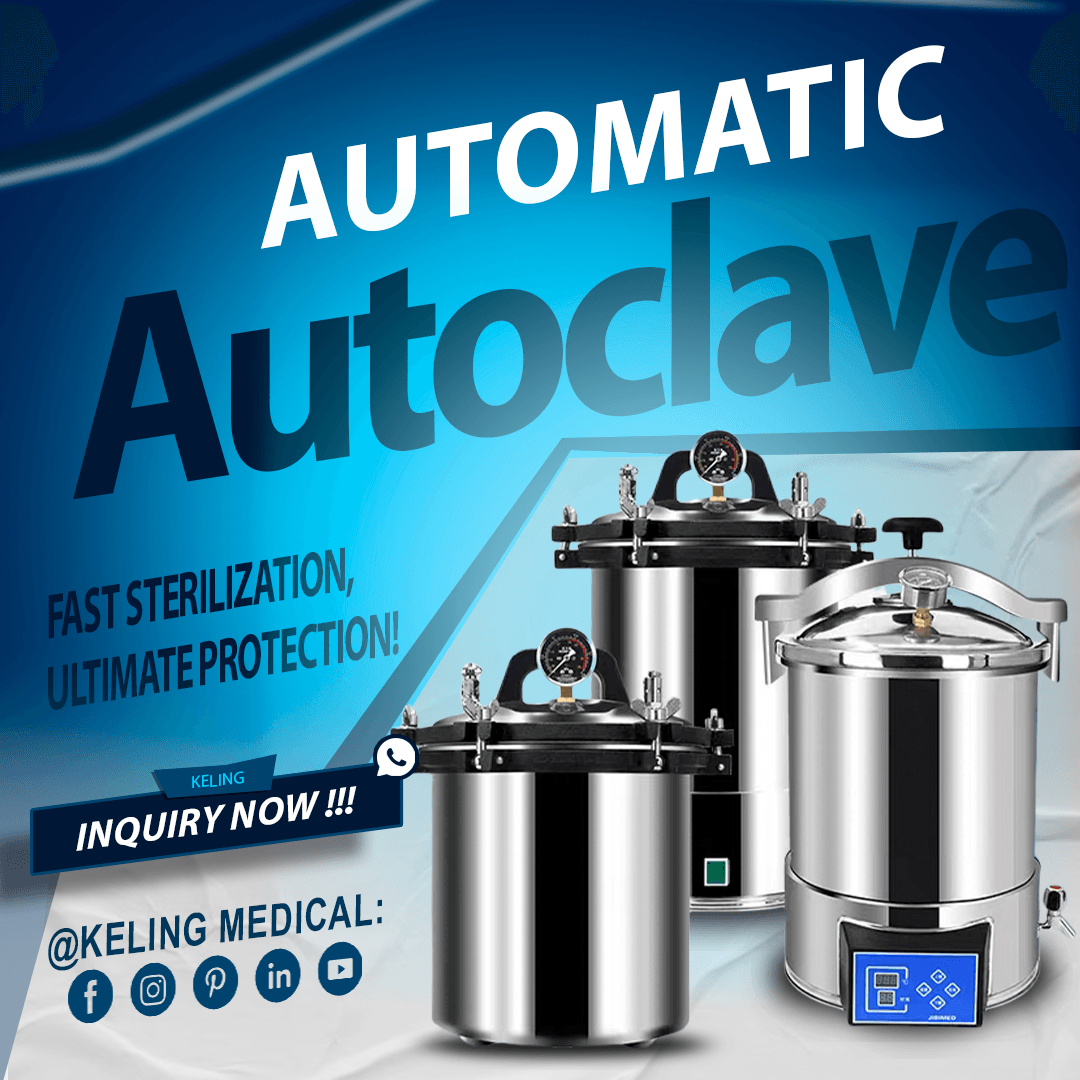
The autoclaving process serves as an essential sterilization practice utilized across medical, laboratory, and research facilities to protect glassware and instruments through effective sterilization. High-pressure steam eliminates pathogens during this
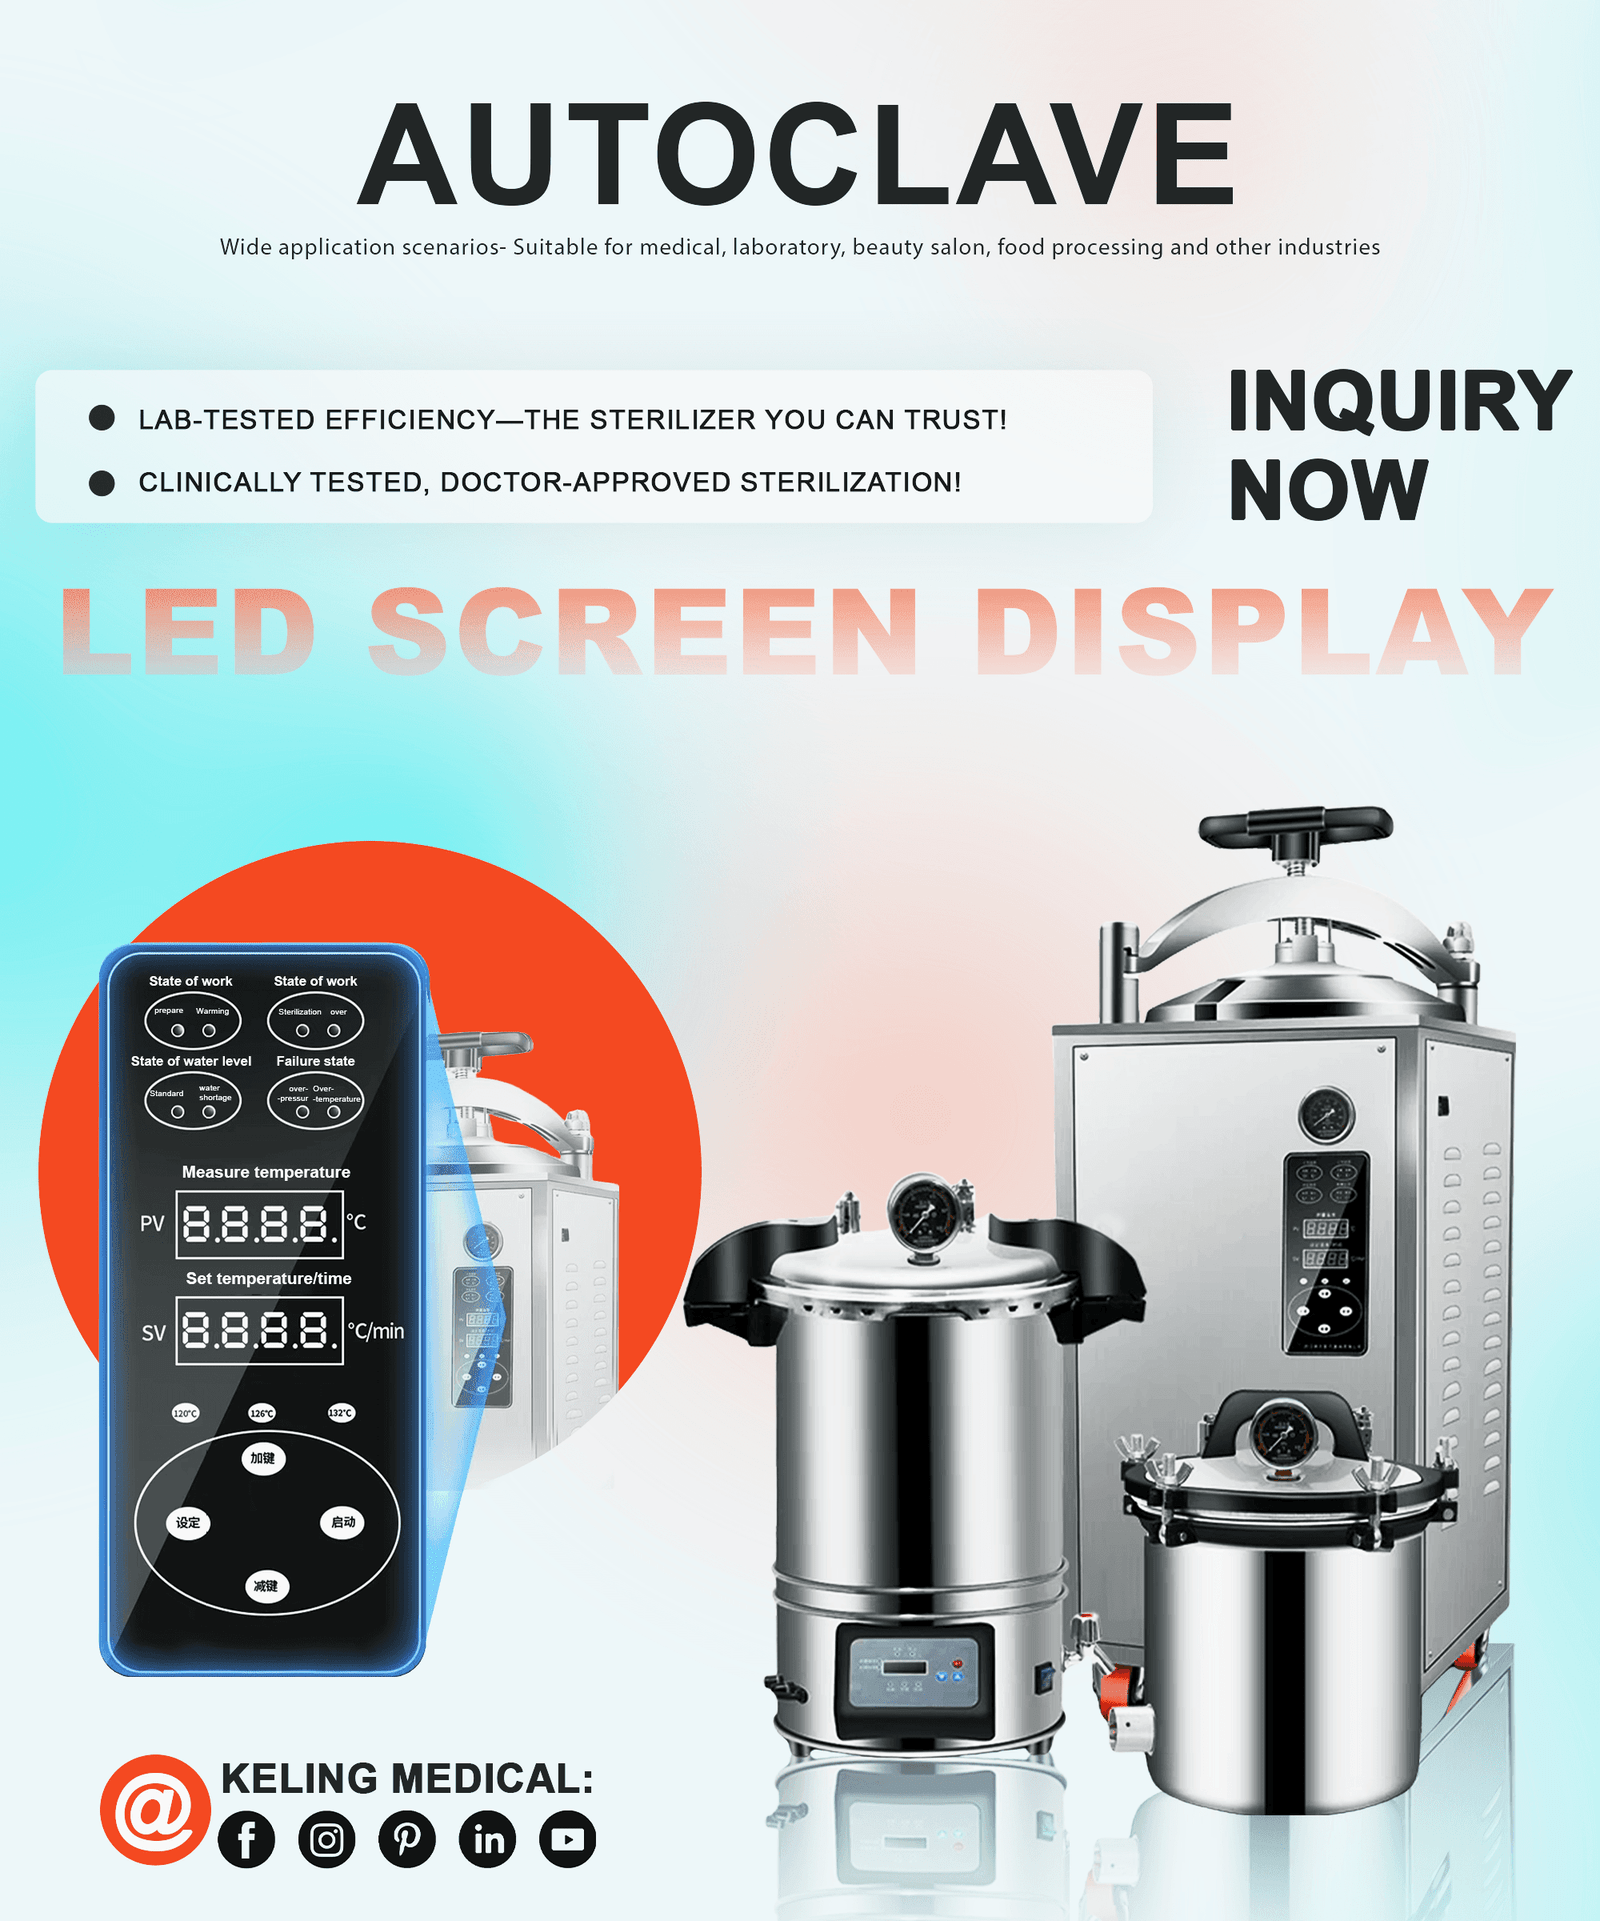
The autoclaving process serves as an essential sterilization practice utilized across medical, laboratory, and research facilities to protect glassware and instruments through effective sterilization. High-pressure steam eliminates pathogens during this
The autoclaving process serves as an essential sterilization practice utilized across medical, laboratory, and research facilities to protect glassware and instruments through effective sterilization. High-pressure steam eliminates pathogens during this
The autoclaving process serves as an essential sterilization practice utilized across medical, laboratory, and research facilities to protect glassware and instruments through effective sterilization. High-pressure steam eliminates pathogens during this
The autoclaving process serves as an essential sterilization practice utilized across medical, laboratory, and research facilities to protect glassware and instruments through effective sterilization. High-pressure steam eliminates pathogens during this