Pipette tips must directly touch sensitive samples as well as reagents and biological materials. Experimental outcomes become unreliable when pipette tips harbor bacteria, viruses, or fungal spores since these contaminants can produce false diagnoses and create health risks in clinical work. Autoclaving provides sterilization that removes contaminants from pipette tips, which guarantees safe and dependable usage. By highlighting autoclaving as the key to maintaining sterility distributors can help clients recognize the importance of appropriate equipment and protocols within their operations.
Autoclaving achieves excellent sterilization results but pipette tips create specific difficulties because of their limited dimensions, plastic build, and packaging designs. Pipette tips must resist high heat and pressure to maintain their shape because improper handling can cause incomplete sterilization or damage to them. Tips need special loading methods when stored in racks or boxes to achieve steam penetration during autoclaving. The knowledge about lab consumables enables procurement professionals to help their clients choose suitable materials and equipment for effective sterilization.
Autoclaved pipette tips lead to reliable research and diagnostic results through standardization and reproducibility. The process helps facilities meet rigorous regulatory standards related to hygiene and contamination management. Dealers should market autoclaving as an affordable yet dependable option that helps clients maintain their operational quality standards without incurring the costs associated with pre-sterilized single-use products.
This manual provides detailed instructions for autoclaving pipette tips.
Autoclaving is not appropriate for every pipette tip because certain plastic materials are prone to melting or warping and might lose their structural integrity when exposed to high heat and pressure. The majority of autoclaving-compatible pipette tips consist of polypropylene which endures standard sterilization conditions such as 121°C at 15 psi over a 15-20 minute period. Always review the manufacturer’s specifications or packaging documentation before use to ensure pipette tips are suitable for autoclaving. Distributors should guide clients towards tips that are specifically marked for autoclave use to minimize damage and sterilization failures.
Manufacturers distribute pipette tips using racks, boxes, or bulk bags. Verify that both packaging and storage containers can withstand heat and match autoclave requirements. The design of some racks includes ventilation holes that enable steam penetration for achieving successful sterilization. Procurement specialists help clients by suggesting storage solutions that fully support the sterilization process.
Correct preparation methods ensure complete sterilization while maintaining the integrity of pipette tips. To ensure convenient storage after sterilization maintain the original position of pipette tips in their racks or boxes. Place bulk pipette tips into an autoclavable bag or container with small holes to permit steam entry without losing tips or causing contamination. Do not overfill containers since this can hinder steam movement resulting in areas where microorganisms remain viable.
Used pipette tips that might contain contaminants should be considered biohazardous waste. Before autoclaving, put potentially contaminated pipette tips into a specified autoclavable biohazard bag or container to avoid cross-contamination in the chamber. Through their distribution of proper containment solutions and safety protocols, dealers help clients manage potentially hazardous materials to boost laboratory safety.
Used pipette tips that exhibit visible debris or residues should undergo pre-autoclave cleaning to guarantee successful sterilization. Clean used tips by rinsing them with distilled water or a proper cleaning solution then wait for them to dry before autoclaving. Distributors should train clients about pre-cleaning methods to improve sterilization results.
Correct loading of the autoclave allows steam to access every surface of the pipette tips which ensures complete sterilization. Insert the racks or containers of tips onto the chamber trays while keeping them upright to maintain stability and avoid overpacking. Ensure there is sufficient space between multiple racks to facilitate steam movement. When sterilizing bulk tips packed in bags, ensure you lay them flat or position them in a way that prevents crumpling to avoid trapping air which impedes steam penetration.
Place the load in the chamber’s central or lower area to take advantage of the highest steam concentration there. Position tips away from chamber walls and vents to prevent uneven heating. Training sessions and visual guides from procurement professionals demonstrate the best loading methods which enable clients to attain consistent sterilization results.
Protect against plastic tip melting or packaging leakage by using a secondary containment tray for your load placement. Secondary containment trays stop messes from forming inside the chamber while safeguarding other items from becoming contaminated. Dealers who offer compatible trays and accessories as part of a complete sterilization system enhance the value of their products.
The customizable temperature, pressure, and duration settings available on most autoclaves need adjustment depending on the type of load being sterilized. To sterilize pipette tips effectively a standard procedure involves heating them to 121°C (250°F) at 15 psi for 15-20 minutes. In cases where pipette tips are packed densely or ordered in bulk, extending the sterilization cycle duration becomes essential for proper heat distribution. Certain autoclaves come with preset cycles designed for small plastic products to make the sterilization process easier.
The sterilization process for larger loads or thick packaging requires longer exposure times or temperatures reaching up to 134°C. For specific recommendations consult the equipment manual and guidelines. Clients receive reference materials and support from distributors to effectively customize sterilization cycles for pipette tips.
Plastic tips become damaged through excessive heat exposure and extended sterilization cycles which lead to deformities and precision loss. Maintain the cycle parameters within the material’s recommended range by monitoring them throughout the process. Procurement specialists should guide clients on cycle settings by highlighting how to maintain a balance between sterilizing effectively and preserving materials.
Activate the autoclave cycle after ensuring the load is prepared and the settings are configured. To maintain effective sterilization throughout the autoclave operation you must keep the chamber door closed and avoid breaking the cycle because opening the door during the process can release steam and reduce the sterilization effectiveness. The latest autoclave models provide cycle completion alerts or malfunction warnings through built-in indicators or alarms. Equipment distributors have the opportunity to showcase dependable features to potential buyers who prioritize effective process management.
Throughout the sterilization cycle monitor the autoclave’s pressure and temperature gauges to ensure stable conditions remain. The presence of strange sounds or variations in operation could suggest a malfunction either in the load or the autoclave equipment. Through training clients to spot these signs they can initiate corrective measures which will guarantee safe and efficient machine operation.
Make sure the chamber and its contents reach a safe temperature before opening the door following cycle completion. Thermal shock which may damage tips or burn staff members can result from rapid cooling or direct handling of hot materials. Ensure the pressure gauge displays zero and the chamber has reached a safe temperature before opening the load. Always employ heat-resistant gloves or tools when removing racks or containers as they may retain heat.
Autoclaves often use chemical or biological indicators to provide proof that sterilization conditions were achieved. Examine the indicators to verify that the pipette tips went through proper processing. Should the verification process fail, you must restart the cycle with modified settings or different load configurations. Procurement experts can offer clients matching indicators or testing kits to facilitate this essential stage of the process.
To maintain sterility place cooled autoclaved pipette tips into a dry space free of contaminants. Maintain covered or sealed conditions for pipette tips in racks or boxes until they need to be accessed. Place bulk pipette tips into a sterile container or bag to ensure their sterility. Do not leave sterilized tips exposed to open air in busy areas where dust and microorganisms may fall onto them. Distributors should offer storage solutions or accessories to help clients preserve sterility after autoclaving.
Verify the heat resistance of both the pipette tips and their packaging before subjecting them to autoclaving to prevent melting or deformation. Maintaining recommended autoclave cycle parameters and preventing chamber overloading will help ensure even heat distribution. Suppliers should reassure customers regarding the robustness of acceptable materials and highlight the importance of following established protocols.
Ensuring personnel safety remains essential throughout the autoclaving procedure. Protective equipment such as gloves and eyewear should be used by staff when handling hot items. Position equipment within an area that has sufficient airflow to control steam discharge when items are removed. Clients can establish comprehensive safety protocols through training programs and safety manuals provided by procurement specialists.
When tips used in autoclaving become contaminated they should be classified as biohazardous material and stored in special containers to prevent any cross-contamination. Comply with regulatory standards by strictly following handling and disposal protocols. Clients receive biohazard containment solutions and advice from distributors to promote secure processing practices.
Sterilizing autoclave-unfriendly tips can cause them to melt or get structurally damaged. Always verify material compatibility before processing. Equipment deliveries should include compatibility checklists from dealers to eliminate this error.
When racks or containers become overloaded the blockage of steam circulation results in sterilization failure. Maintain proper load spacing and follow the equipment load capacity specifications. Procurement professionals should teach clients appropriate loading methods to achieve optimal results.
The premature opening of the chamber combined with unprotected handling of hot tips creates a risk for injury and damage. Ensure proper cooling periods and supply appropriate tools for safe manipulation. Salespeople should offer clients safety accessories alongside equipment purchases to assist during this stage.
Recontamination risks increase when sterilized tips are kept under non-sterile conditions. Store sterilized tips in sealed containers and maintain dedicated clean storage spaces. Dealers have the option to provide storage solutions within their full sterilization package offerings for clients.
Medical equipment distributors and procurement specialists who support labs and hospitals must understand autoclaving pipette tips as a crucial competency. Clients will achieve dependable sterilization and reduce contamination or damage risks when they adhere to this guide’s step-by-step process which includes verifying material compatibility, load preparation, selecting cycle settings and ensuring safe storage. When pipette tips are autoclaved correctly they meet strict hygiene requirements and improve the precision and protection of important scientific and medical operations. This specialized knowledge enables you to deliver essential guidance and solutions that enhance your status as a dependable partner in the medical supply sector. Reach out to us with any questions you have about pipette tip autoclaving or to find high-quality sterilization equipment for your clients. Reach out via [inquiry@shkeling.com](mailto: Send your questions to inquiry@shkeling.com or contact us through WhatsApp at +8618221822482 and explore our offerings at https://autoclaveequipment.com/. We stand prepared to help you achieve your business targets while offering superior solutions to healthcare providers.
1. Autoclaving pipette tips in laboratories prevents contamination by destroying microorganisms that could affect experimental outcomes or endanger patient safety. Autoclaving pipette tips removes harmful microorganisms to maintain experimental integrity and protect patient safety in clinical environments.
2. Can all pipette tips be autoclaved? Pipette tips require heat-resistant materials such as polypropylene and an autoclavable label to ensure they withstand the sterilization process without melting or deforming.
3. Arrange pipette tips within racks or autoclavable containers in an upright position and ensure they are separated to allow steam to reach all surfaces for successful sterilization. Install pipette tips vertically in racks or autoclavable containers at spaced intervals to allow steam to flow freely over all surfaces for thorough sterilization.
4. The standard autoclaving cycle settings for pipette tips typically involve heating to 121°C (250°F) at 15 psi for 15-20 minutes. Standard autoclaving conditions for pipette tips involve heating to 121°C (250°F) while maintaining 15 psi pressure for a duration of 15-20 minutes but modifications may be necessary for larger quantities or tightly packed materials.
5. To avoid damage to pipette tips during autoclaving it is crucial to verify material compatibility, prevent overcrowding and adhere to recommended cycle parameters. By checking material compatibility and preventing overcrowding along with following recommended cycle parameters you can avoid melting or warping pipette tips.
6. Distributors support autoclaving pipette tips by offering training programs and providing necessary accessories along with detailed sterilization guidelines. Distributors supply clients with training materials and compatible accessories alongside guidelines to ensure effective sterilization practices for pipette tips.
Introduction Autoclave machines used in hospitals are one of the most important investments in healthcare infrastructure, serving as the first line of defense against healthcare-associated infections. Sophisticated sterilization equipment is

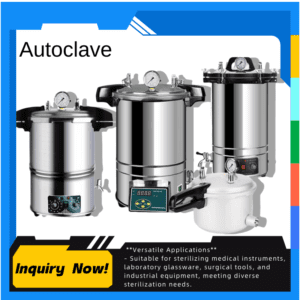
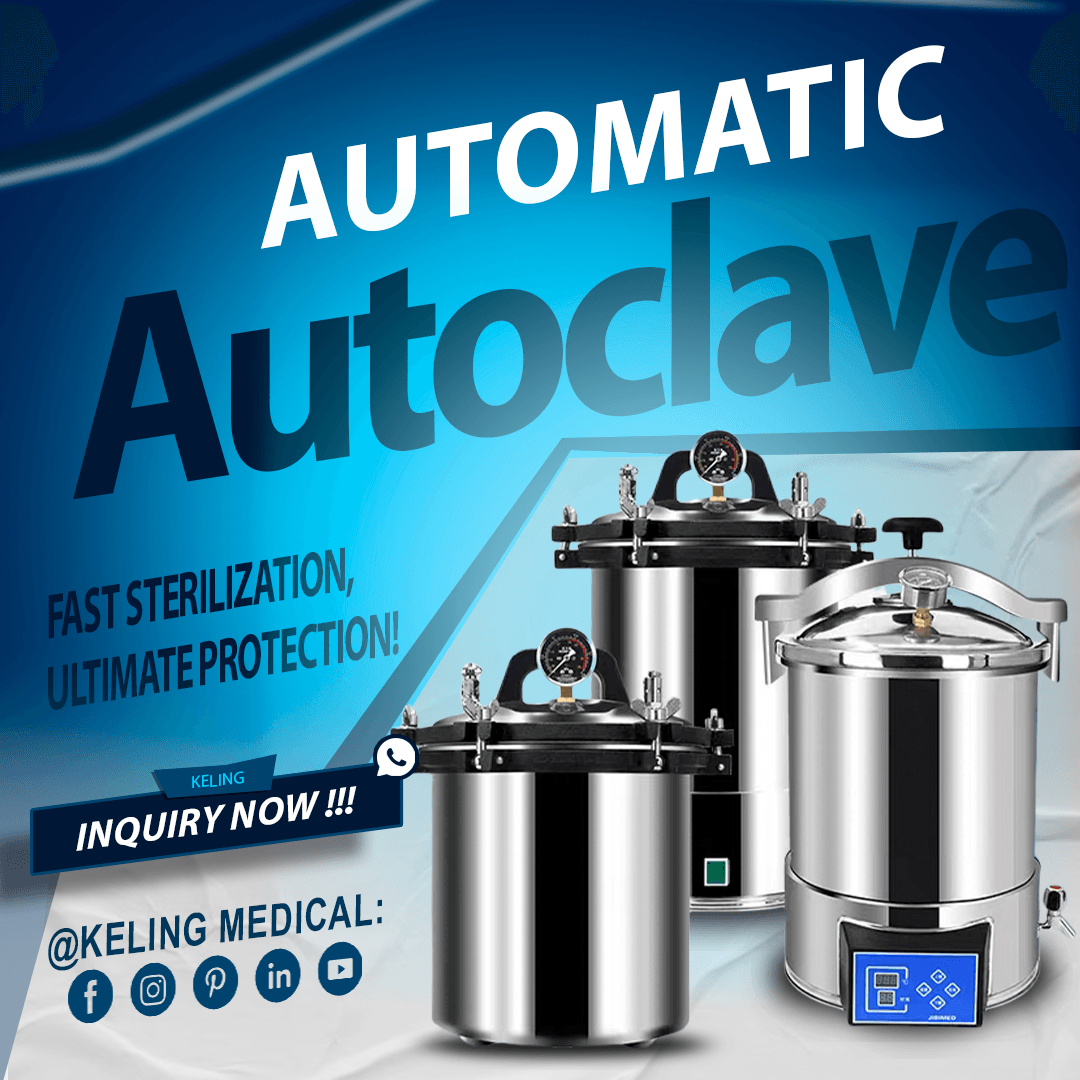
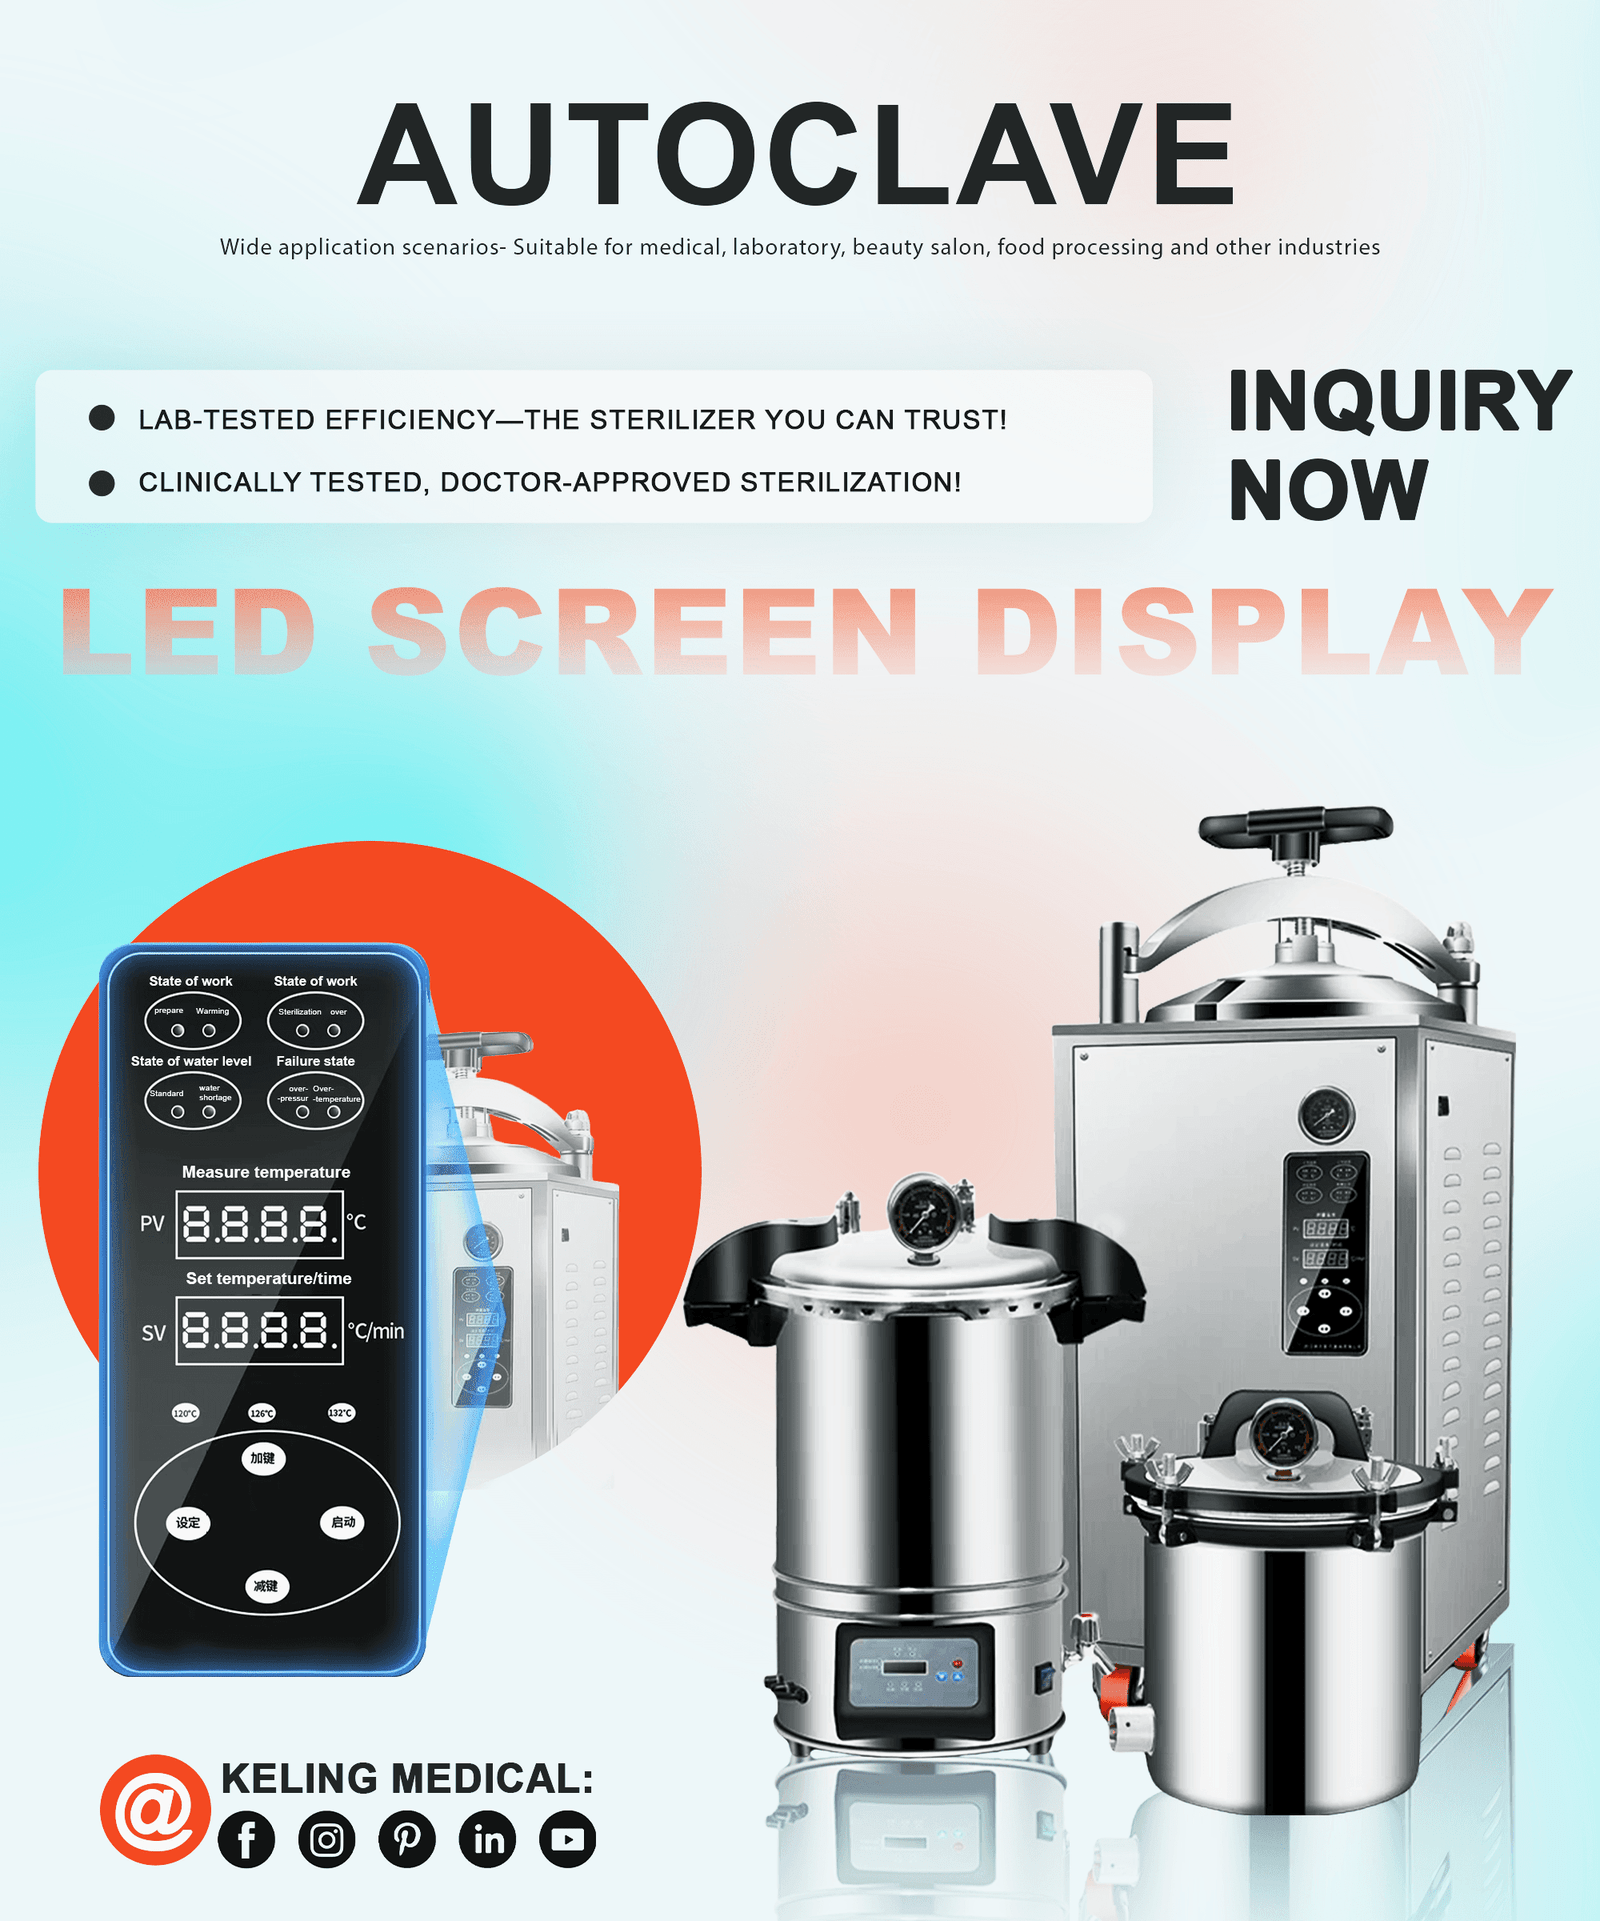
The autoclaving process serves as an essential sterilization practice utilized across medical, laboratory, and research facilities to protect glassware and instruments through effective sterilization. High-pressure steam eliminates pathogens during this
The autoclaving process serves as an essential sterilization practice utilized across medical, laboratory, and research facilities to protect glassware and instruments through effective sterilization. High-pressure steam eliminates pathogens during this
The autoclaving process serves as an essential sterilization practice utilized across medical, laboratory, and research facilities to protect glassware and instruments through effective sterilization. High-pressure steam eliminates pathogens during this
The autoclaving process serves as an essential sterilization practice utilized across medical, laboratory, and research facilities to protect glassware and instruments through effective sterilization. High-pressure steam eliminates pathogens during this
The autoclaving process serves as an essential sterilization practice utilized across medical, laboratory, and research facilities to protect glassware and instruments through effective sterilization. High-pressure steam eliminates pathogens during this